 SampattiTrack
Getting started with SampattiTrack
SampattiTrack works with no sign-up. Create a few accounts, log a transaction, and your balances and charts start filling in on their own.
What you need to know first
Your ledger is stored on your device. There is no account to create and nothing to log in to. The app has five tabs along the bottom: Home, Trends, Cards, Portfolio and More. Most of the tools you will use less often, such as Transactions, Accounts, Units, Budgets and Settings, live under More.
New installs start in Simple mode, which asks only for what happened, how much and where. You can switch later; see Simple vs Ledger mode.
Step 1: Create your accounts
An account is any place money sits or comes from: a bank account, a wallet, a credit card, a loan, a salary source or a spending category. The quickest start is a ready-made set.
- Tap More, then Accounts.
- If you have no accounts yet, tap Set Up Starter Accounts. You can also reach this from More › Settings › Chart of Accounts.
- Choose a template (Personal, Freelancer or Investor) and tap Set Up Accounts. Anything that already exists is marked Already exists and is not duplicated.
To add a single account instead, tap the plus button on the Accounts screen (or Add Account when the list is empty), fill in the name, pick a category and answer What is this account?, then tap Create Account. The account roles article explains that last question.
Step 2: Log your first transaction
The fastest way is from Home. The row of actions there includes Add and Quick Log.
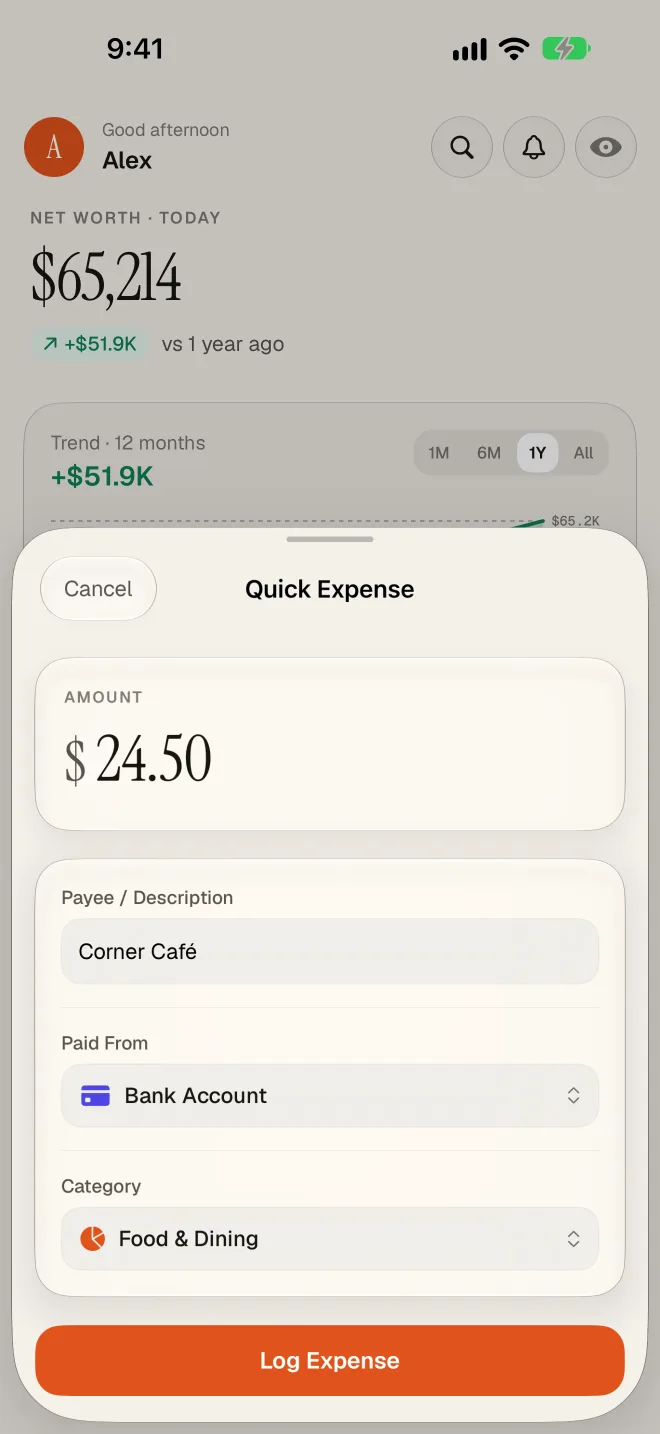
- On Home, tap Add and choose Transaction. The New Transaction sheet opens.
- Pick the kind: Expense, Income or Transfer.
- Choose the account the money comes from (for an expense the field is called Paid From), then where it went.
- Enter the TOTAL AMOUNT, a Description / Payee and the Date.
- Tap Save Transaction.
Behind the scenes the app stores a balanced entry for you. If you are curious how, read How double-entry works here.
Step 3: Set your opening balances
If you already have money in a bank account, record it once so your totals start from the right place. Open the account, check its balance, and adjust it to the real figure. The app records the difference against an Opening Balance equity account, so your history stays consistent.
Step 4: Look around
- Home gives you the overview and quick actions.
- Trends shows how things change over time.
- Cards is for your credit cards.
- Portfolio shows your investment holdings.
- More opens Transactions, Accounts, Units, Tags, Budgets, Goals, Import Statement, Rules & Shortcuts, Help Centre and Settings.
You do not need to learn bookkeeping to use the app. Stay in Simple mode until you want to split a transaction across several accounts or track holdings in units.
Good habits
- Log things soon after they happen, while you still remember the details.
- Keep one account per real-world place money lives, so balances match your bank statements.
- Use a transfer, not an expense, when you move money between your own accounts or pay a credit card bill.
Still stuck? Email [email protected] and we will help.